[ad_1]
Witches’ butter doesn’t exactly look like a top-tier dessert food.
However, looks can be deceiving.
Candying witches’ butter imparts a sweet taste and chewy texture reminiscent of store-bought gummy candy. But unlike processed confections, this one has health benefits homesteaders can get behind.
Read on to learn how to turn this fungus into a fun treat everyone will love!
Materials for Candying Witches’ Butter
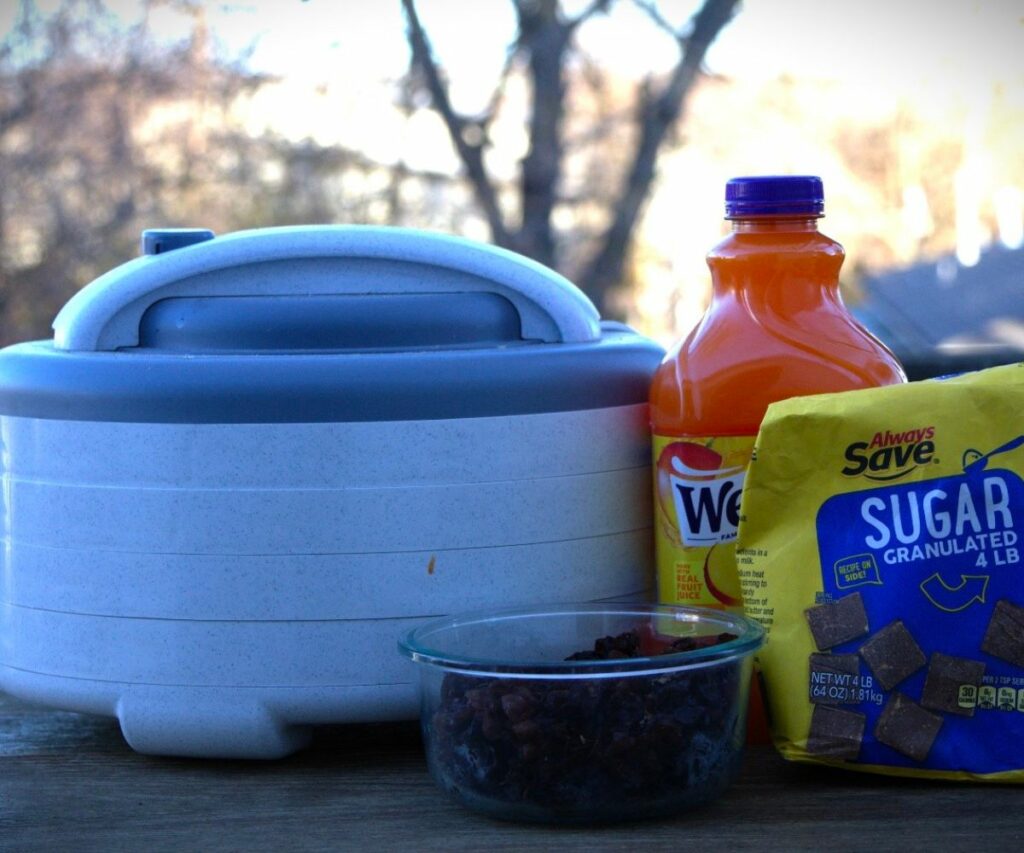
Candying witches’ butter takes several days. However, it’s worth preserving this common food source in season to enjoy the sweet, tart flavors year-round.
Here’s what you’ll need to produce crave-able candies:
- Witches’ butter: You can use as much as you gather, but ensure you have at least two cups before you begin.
- Granulated sugar: Sugar has a terrible reputation but is a potent humectant and natural preservative. You cannot replace sugar with a substitute here, but you can use unprocessed brown or organic sugar. You’ll need about ¼ cup for each cup of fungi.
- Fruit juice: You can use any juice or simple syrup. I have also had great results with old port wine. Half a liter should be plenty for each cup of fungi.
- Citric acid: A tablespoon of citric acid will impart a tart flavor. You can use drink-mix packets instead or omit it entirely if you don’t like the sour taste.
- Dehydrator: A dehydrator makes everything go faster. As always, I’m working with my Nesco Snackmaster. Easy to use and clean, my Nesco is my constant companion in the kitchen — especially when preserving fungi!
How to Candy Witches’ Butter
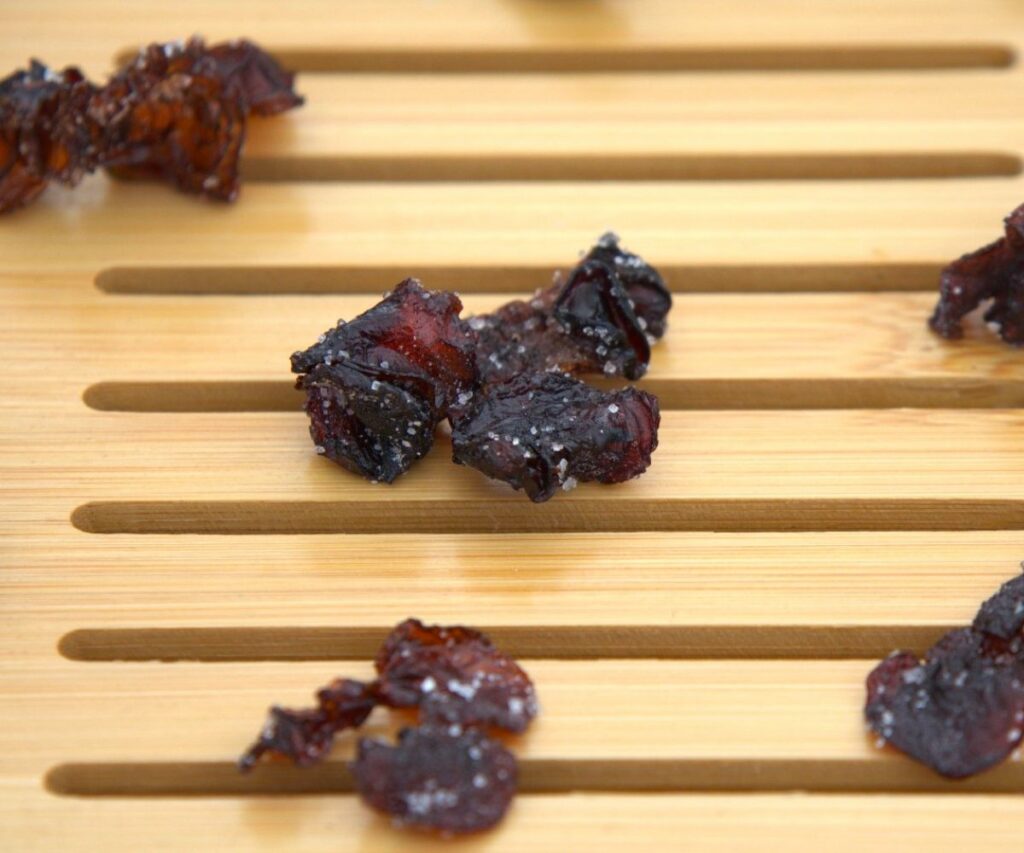
1. Source Witches’ Butter
Not many outlets sell witches’ butter. You can buy some Tremella species at specialty markets or online, but you’ll likely need to gather the fungus yourself.
While foraging witches’ butter isn’t difficult, you do need quite a lot to make a decent amount of candy. I harvested four pounds to make my last batch, which came out at a little over half a pound once prepared.
What if you can’t gather enough at one time? No sweat. You can gather what you can, cleaning and dehydrating the mushrooms as you go along to preserve them indefinitely.
You can start candying witches’ butter once you have your desired amount. If you go this route, skip to step four when you’re ready to begin.
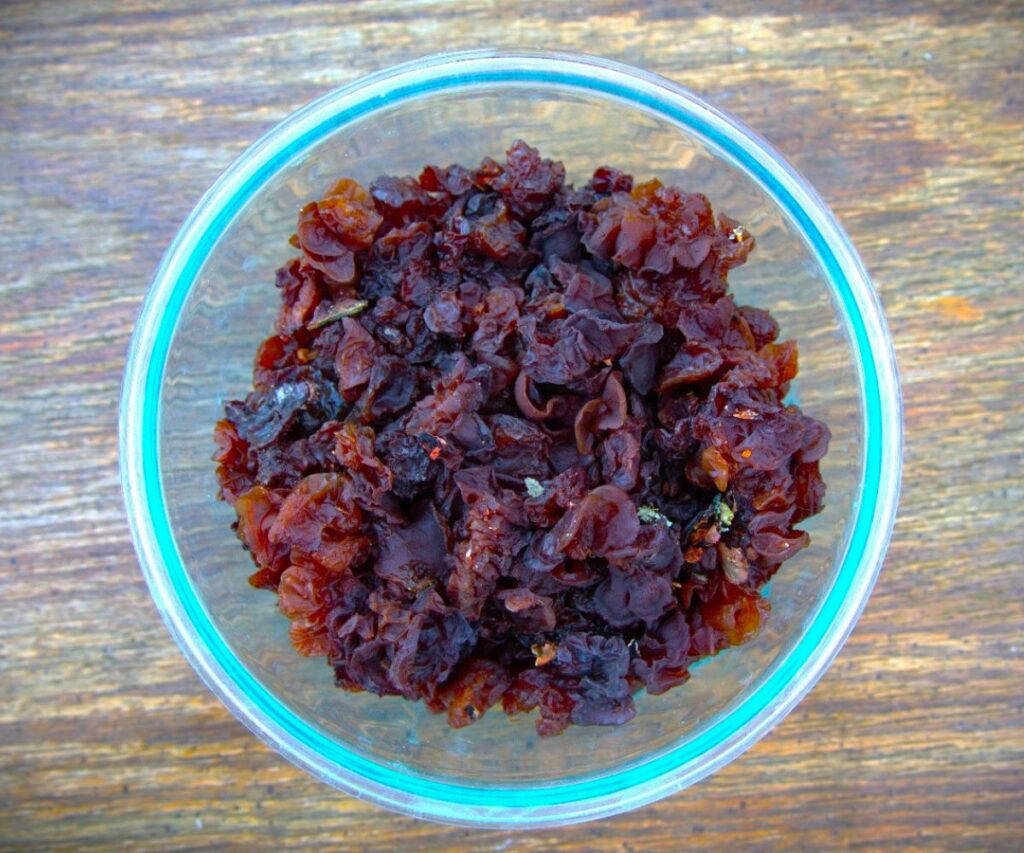
2. Clean Fungus
When you’re ready to start candying witches’ butter, pluck off larger pieces of dirt, wood, and moss with your fingers. Then, give the fungus a cursory swirl under cool water.
Remember, witches’ butter is watery and gelatinous. Some species are fragile and break apart easily, so handle it carefully.
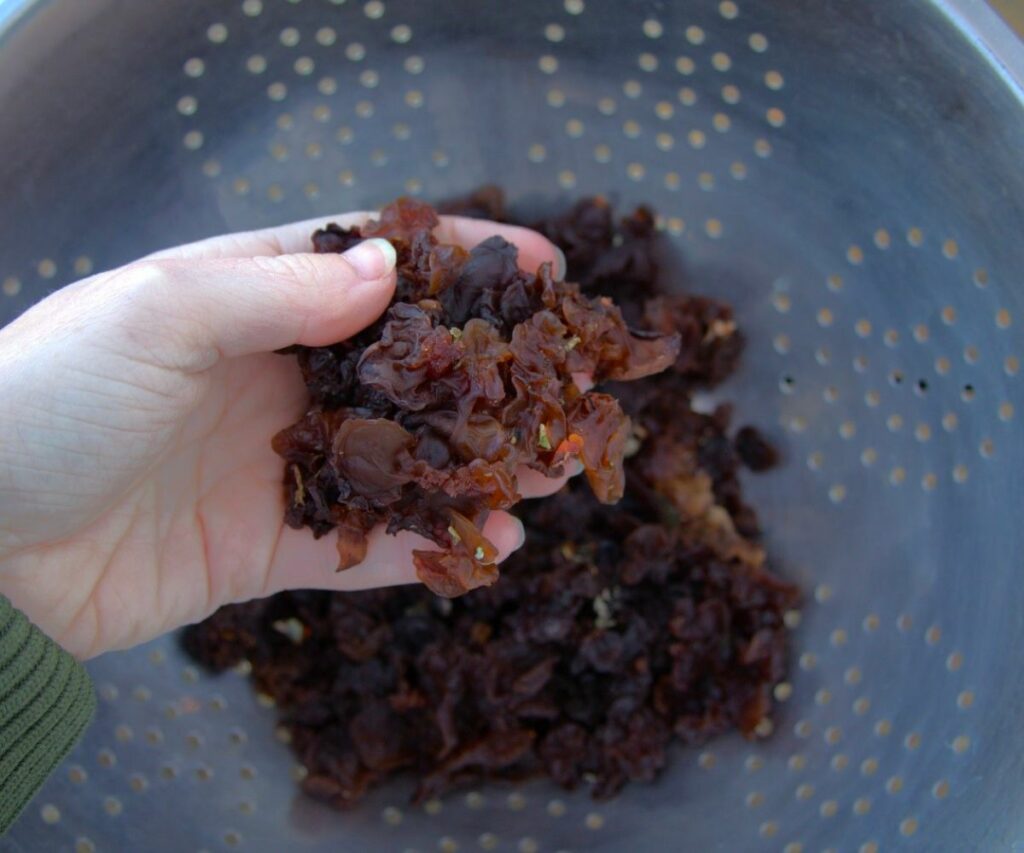
3. Dehydrate
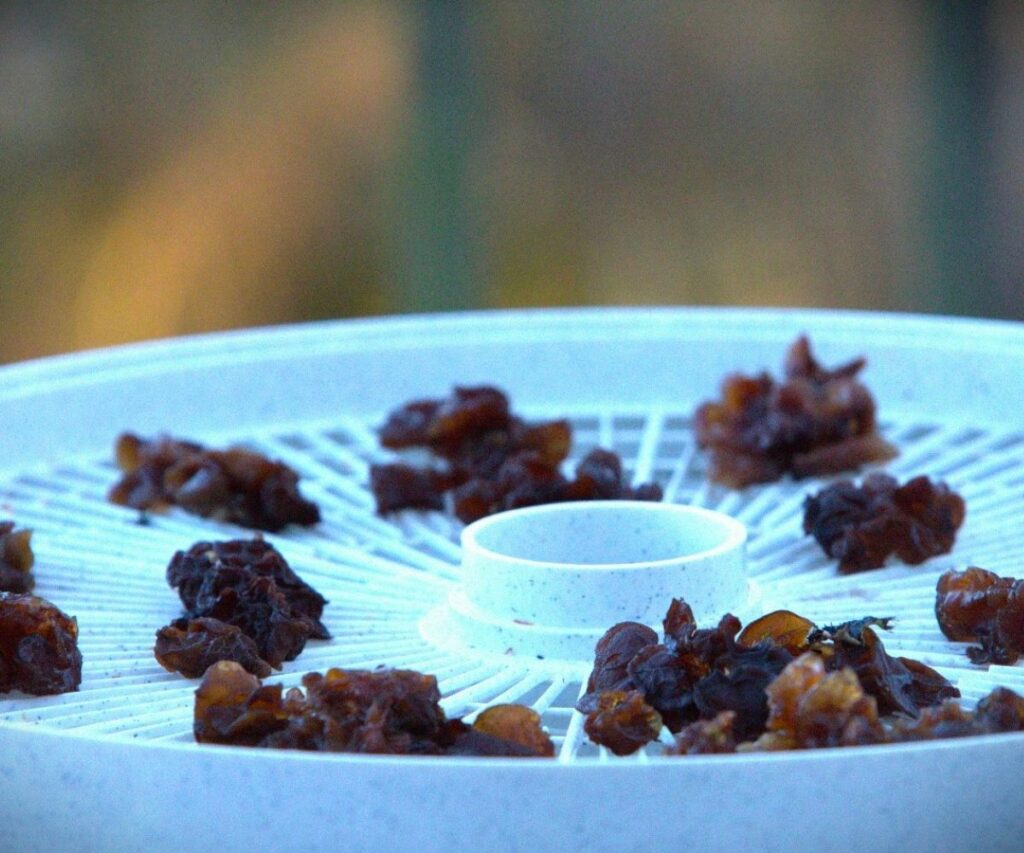
Once clean, arrange the fungus on your dehydrator trays. You’re probably working with a lot of witches’ butter at this point, and unless you have a massive dehydrator, you will likely need to do several batches.
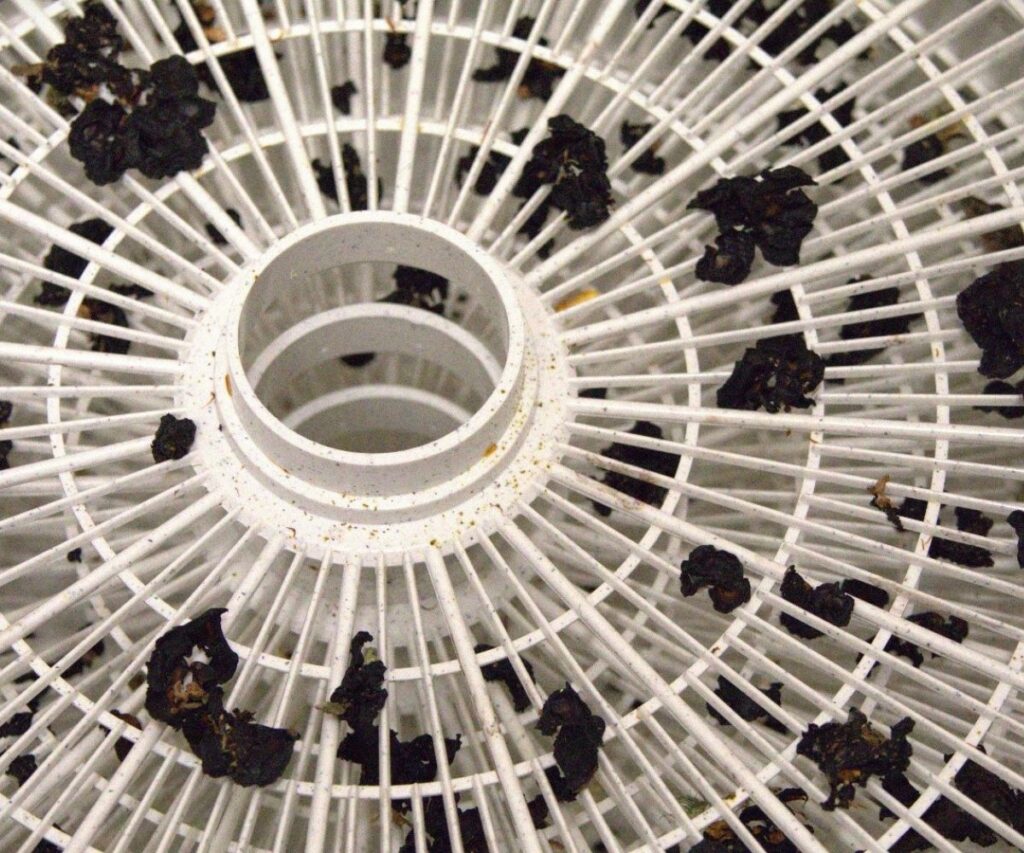
Ordinarily, I would advise not to crowd the dehydrator trays. However, I have found that crowding isn’t necessarily a bad thing with witches’ butter, and you can arrange them quite close in a single layer.
Once it’s loaded, set the machine to a low setting. I suggest dehydrating at 95°F for four hours.
Witches’ butter will shrink down to almost nothing as it dehydrates. The pieces should be brittle and breakable afterward.
4. Boil Juice
Part of candying witches’ butter is infusing it with flavor. We do this by dehydrating and rehydrating it in sweet liquid. The process is similar to marinating mushroom jerky, with the mushrooms absorbing the flavor of the liquid.
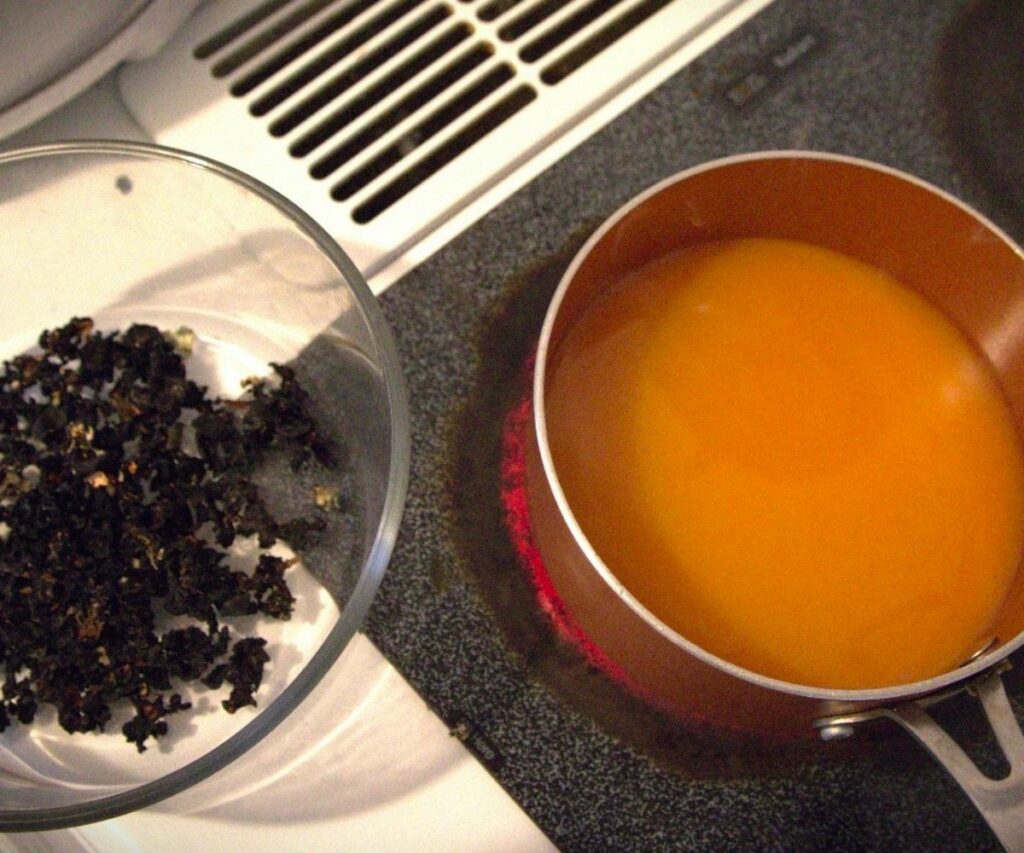
Witches’ butter will rehydrate fully in the liquid, so you need a lot. I use half a cup for every 1–2 grams of dry fungi.
Set your dehydrated shrooms aside in a large bowl. Bring your fruit juice to a boil on the stove in a saucepan, then remove it from the heat and pour it over the fungus.
5. Soak Fungus
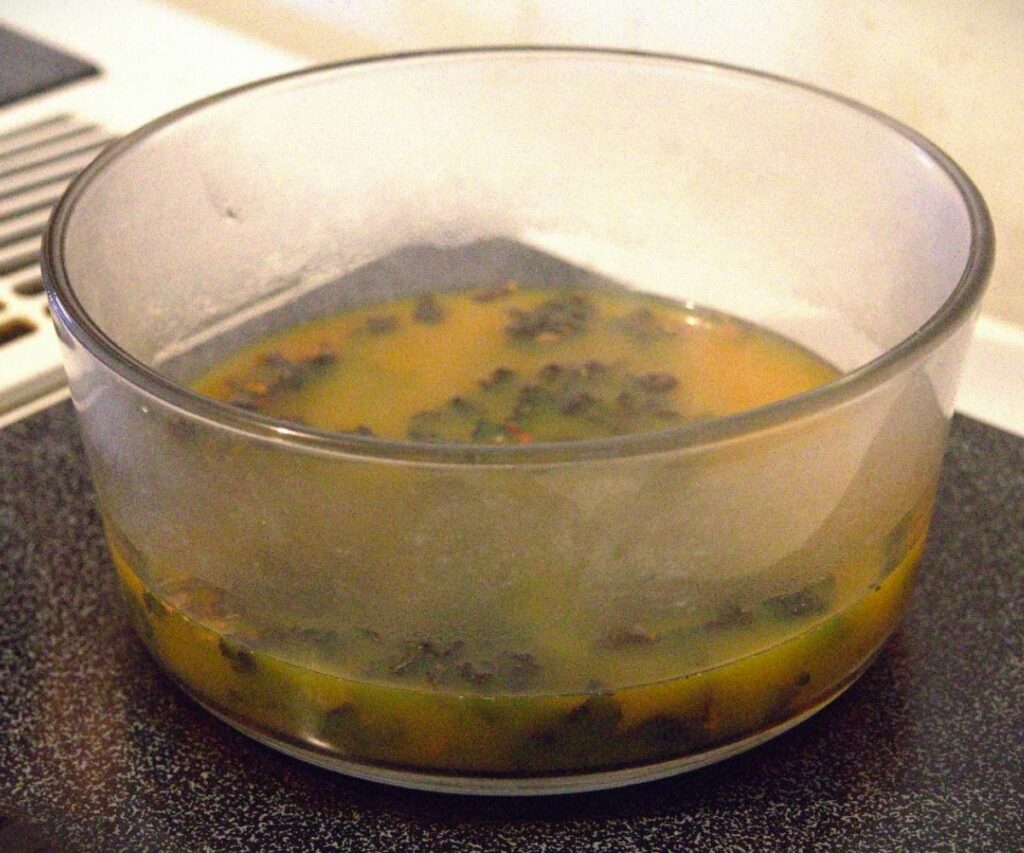
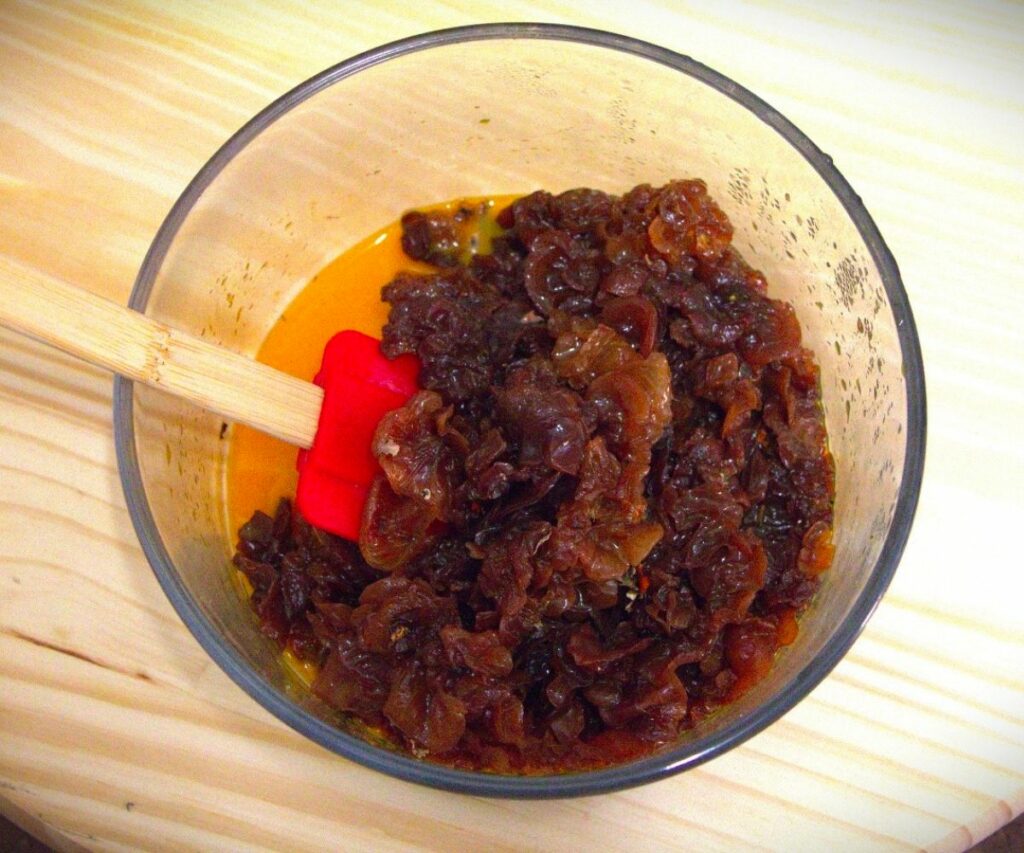
Stir the juice and fungus, allowing everything to cool completely. The witches’ butter will swell as it takes on the juice.
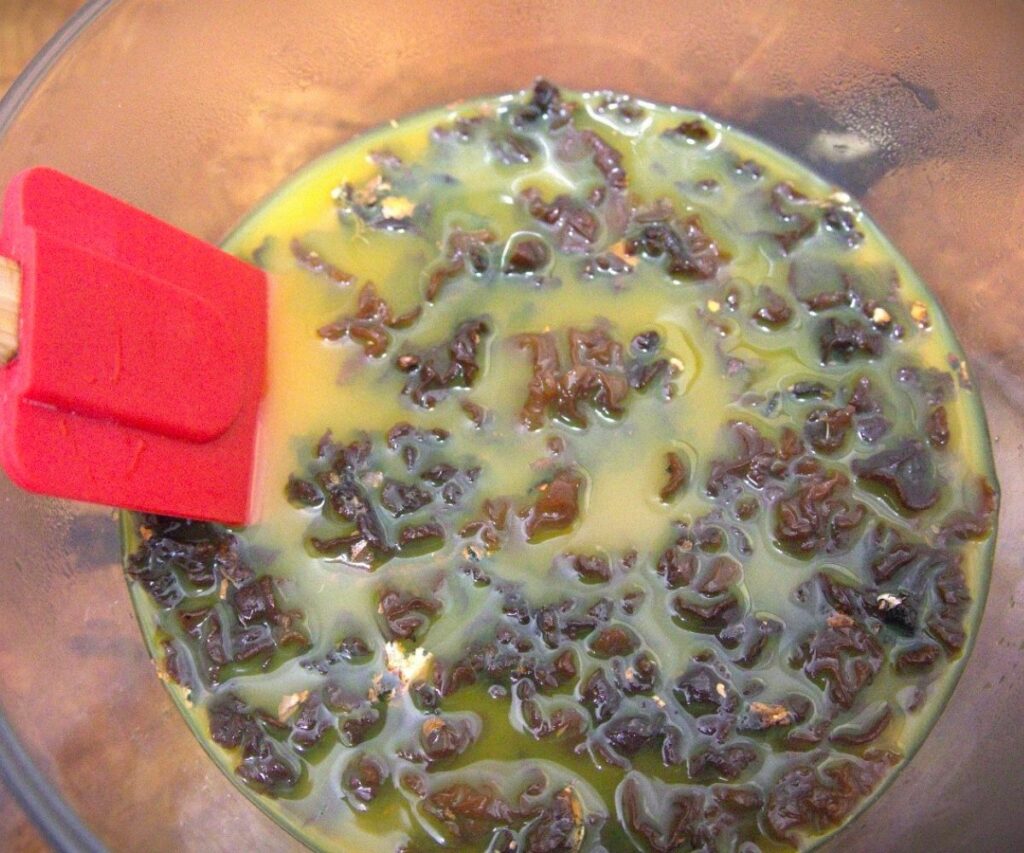
After 10–20 minutes, cover the bowl and place it in the refrigerator. Leave it overnight for up to 12 hours, stirring occasionally and checking the liquid level. If the mushrooms absorb all the juice, add more.
6. Air-Dry
At this point, the witches’ butter is too wet to coat in sugar. We need to let the excess moisture evaporate.
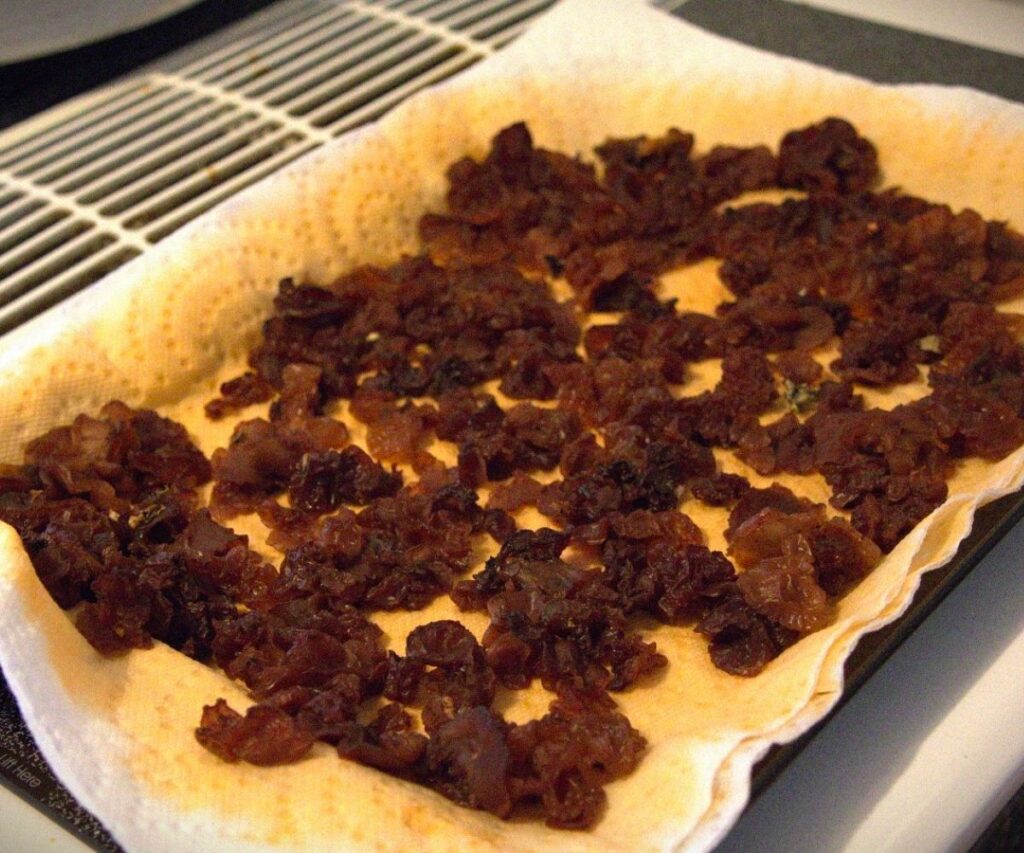
Drain off any remaining liquid, pat down the witches’ butter, and set it on paper towels to air-dry in the refrigerator for 24 hours.
To check that it’s dry enough, poke it with a finger. Your finger should come back dry. If it comes back wet, there is too much moisture and you must leave it longer.
7. Roll in Sugar
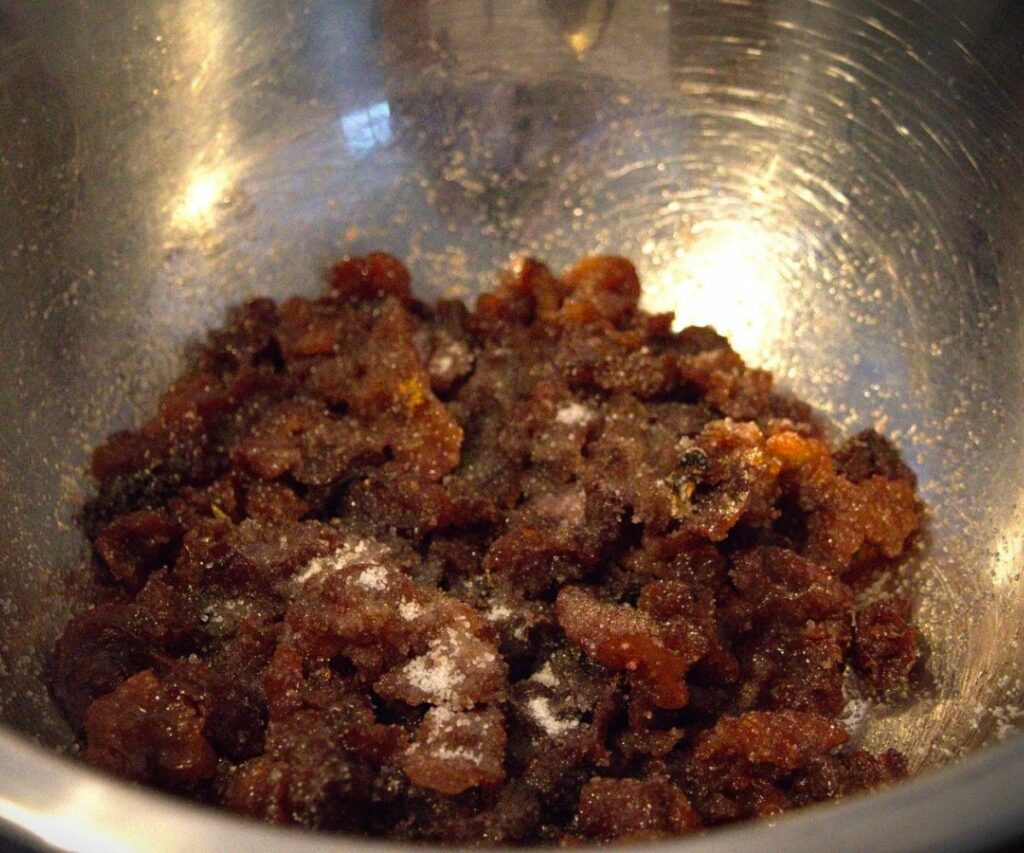
When candying witches’ butter, we create a sweet “crust” by coating the fungi in sugar. I usually use around ¼ cup of sugar for every cup of witches’ butter, but you can experiment to see what you like.
Put your sugar in a wide-mouth bowl. If using drink mix or citric acid, add it at this time and mix well.
Add your witches’ butter atop the sugar and mix with a spoon. Shake the bowl to ensure each piece is fully coated, but do not over-mix. Agitating it too much will make the sugar dissolve, leaving you with a gloopy mess.
8. Dehydrate
Once you’ve coated your fungi in sugar, it’s time to break out the dehydrator again.
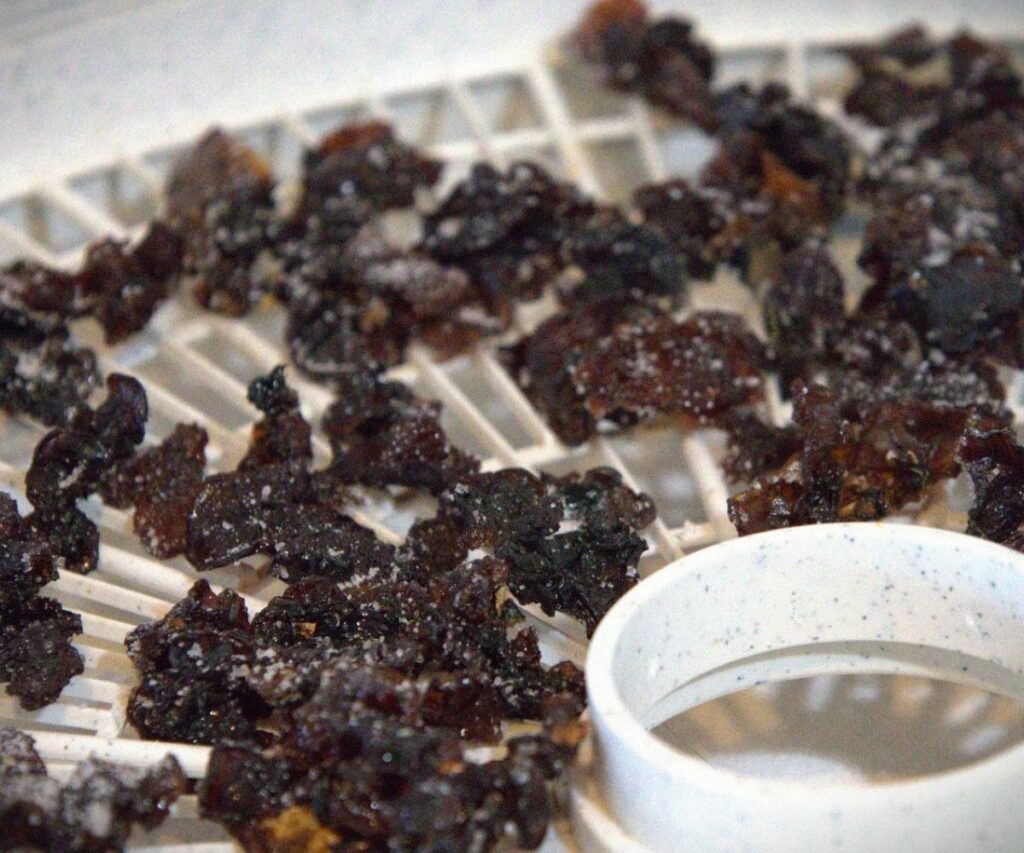
Lay each piece of witches’ butter alone in the dehydrator, making sure not to overcrowd the trays this time. Each piece must be allowed to breathe so it dries correctly and that perfect, chewy texture shines through.
How long the pieces take to dehydrate depends on how large they are and how chewy you want them. I usually leave mine in for four to six hours at 130°F, resulting in a firm yet flexible candy that bends but does not break apart when pulled.
Not sure if it’s done?
Taste a piece to see how you like it. If you want it leatherier, leave it for longer.
9. Store Properly and Enjoy!
Once you have your desired consistency, turn off the dehydrator and wait for the candy to set. After about an hour, it’s ready to store.
My go-to storage method is simply putting the pieces in a glass jar or container with an airtight lid.
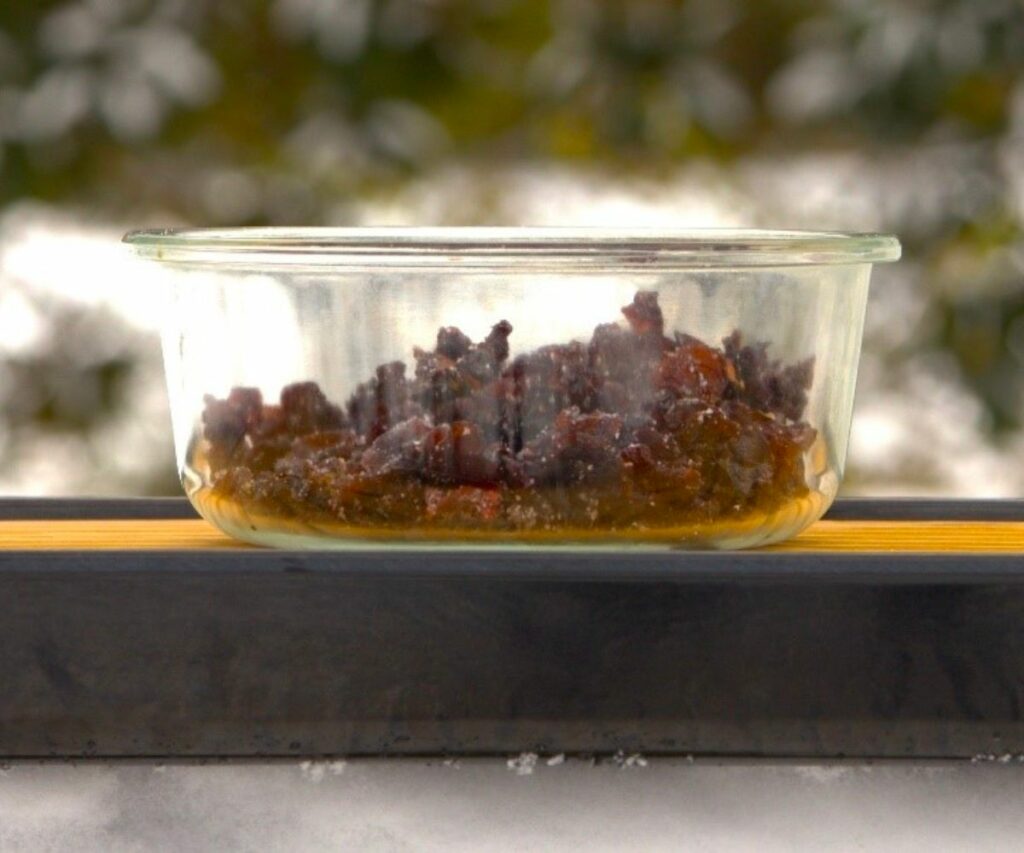
The second, more labor-intensive storage option is to pack it in sugar. As a humectant, sugar draws lingering moisture from the finished product and acts as a preservative. This can prolong its shelf life more than candying alone.
For this, you’ll layer the witches’ butter candies in a larger jar, pouring sugar between each layer as you go. Use a spoon to pack them firmly in place.
Candying witches’ butter helps to preserve it, but it won’t last forever, even if you do pack it in sugar. Shelf life depends mainly on how you prepare it. The drier the final product, the longer it will keep.
I like a softer chew, so mine isn’t very dry. Even so, it still lasts a long time. I’ve kept candies for five months before they ran out, and I’ve never had a batch spoil before it got eaten.
Ready for a taste of sugary satisfaction? Now that you know how to turn a fun fungus into a sweet snack, you can start candying witches’ butter today!
[ad_2]
Source link
