(Psst: The FTC wants me to remind you that this website contains affiliate links. That means if you make a purchase from a link you click on, I might receive a small commission. This does not increase the price you’ll pay for that item nor does it decrease the awesomeness of the item. ~ Daisy)
By the author of
A black bear popped up beside me the other day while I was in the woods camping (<20 feet) and thoroughly surprised me. It wasn’t my first encounter with bears out in the woods, but it did get me thinking a bit about what would happen if somebody just took off, leaving all their gear in the dust when that happened.
If it was nighttime, it wouldn’t be difficult to get turned around and lose track of where your gear was. If that’s where you then found yourself, what would you do if you didn’t have your rocket stove with you and needed to cook a meal? What would you do if you were trapped in Peru right now, you had to watch out for angry Peruvians, and your little backpacker stove was out of fuel?
Aside from MREs, the most common type of backpacking food is the freeze-dried stuff. But to eat freeze dried meals, you have to have hot water (if you want it to be palatable). So, I built a Dakota fire hole to see how fast it would take me to heat up a metal tin of water to boiling, how long it took to dig the hole, how much smoke was produced, and the like.
Here’s what I found.
I used the metal pot that’s included in the Kelly Kettle Scout package (something I consider to be part of a good campfire cooking kit). It holds 0.85 liters of water, and I filled it up with cold water. (I figured that’s what you’re going to collect out in the woods anyway.)
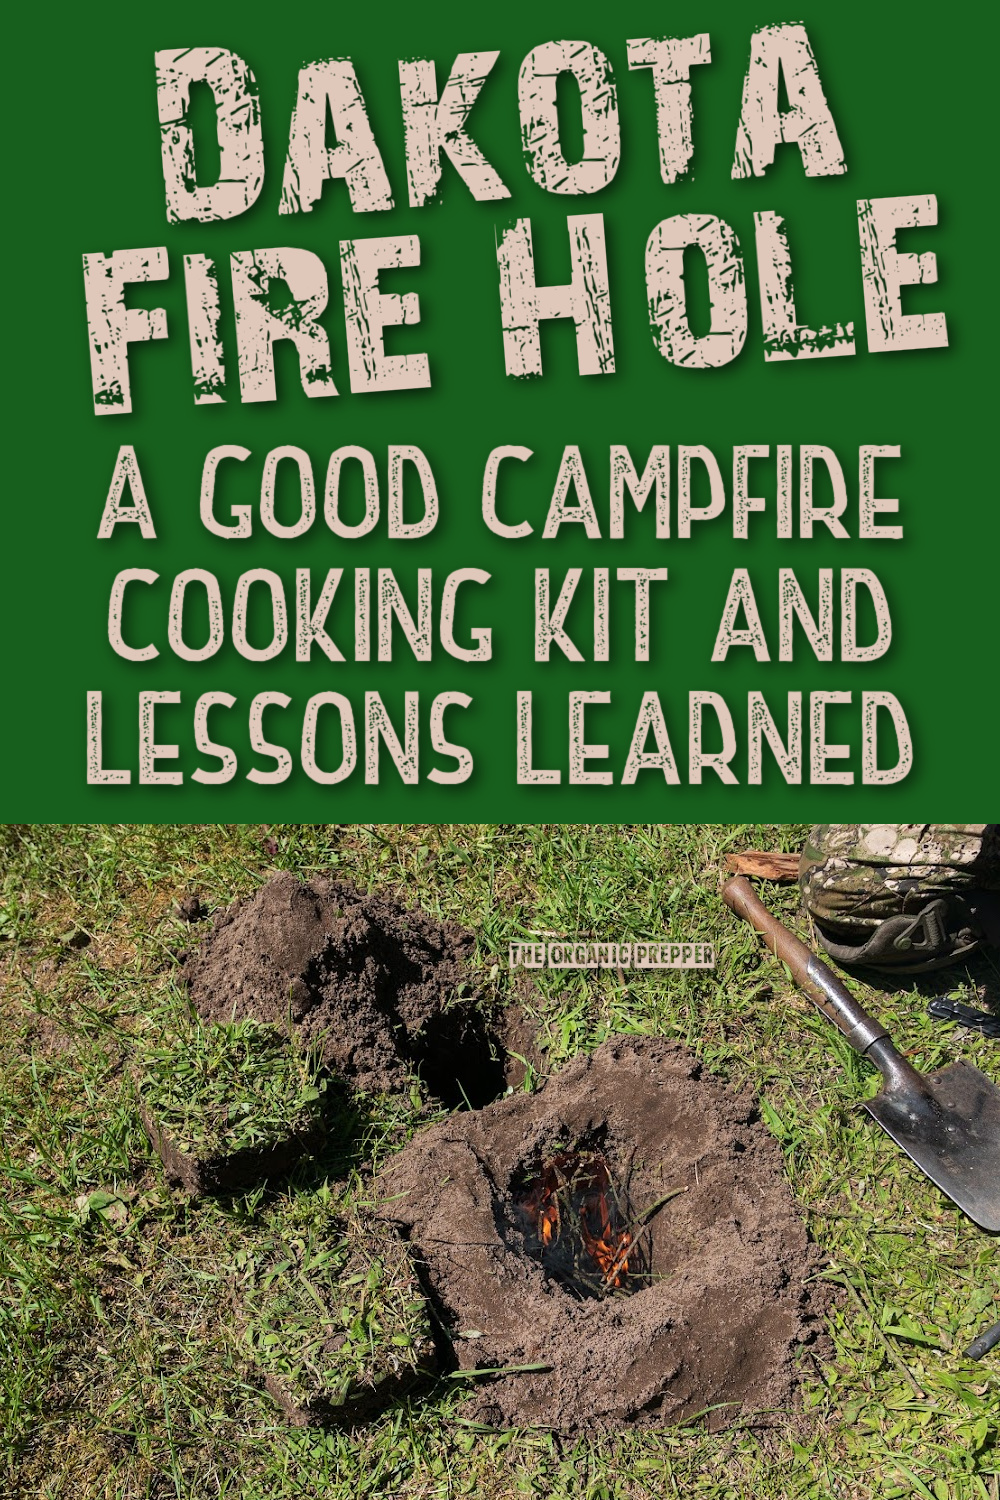
Digging the Dakota fire hole
A Dakota fire hole is essentially a tunnel dug under the ground. A fire is started in one end and oxygen is sucked to the fire from the other end.

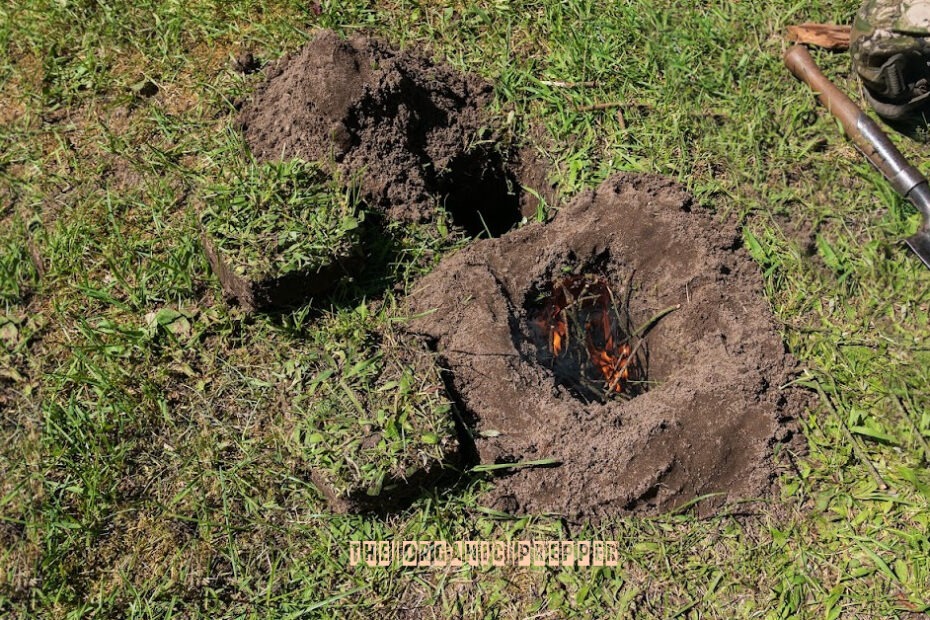
It sounds simple enough, but it takes a bit of effort to finish without collapsing the tunnel. It took me about 25-30 minutes with a small gardening trowel and a pointy metal stick (a dandelion weeder). The entrances to the tunnel were a foot apart from each other and I dug each in at a rough 45-degree angle towards each other. The “entrance” hole was oriented in the direction that the wind was blowing from so that as much oxygen as possible would blow into the fire.
Each hole was about 9” in diameter, but the connection at the bottom of the tunnel was 2” in diameter.
If you do not have some type of digging implement with you when you need to do this out in the woods, it’s likely going to be longer than what it took me. A stick and a flat stone would work but obviously aren’t as functional as metal tools.
Starting the fire
Starting the fire is no problem and the airflow getting drawn in does really help.
Light signature
While I lit my fire during the daytime, the flames stayed below the surface of the ground and out of sight once the pot was in place. Without the pot, they rose higher, but I can see how somebody would have a hard time seeing too much light from this unless they were within 20-something feet of the flames, particularly if the hole was dug deeper than what I did here.
Of course, digging the holes deeper would result in more time till the completion of the tunnel.
Smoke signature
There was more smoke than I am used to with my other rocket stoves. A small column of smoke with a diameter about the size of a large Red Delicious apple was produced. It’s ridiculously windy where I live, so the smoke hugged the ground and all dissipated within 10-15 feet or so.
If I had dug this out in the middle of the woods where no wind would have reached me, I don’t see how there would have been any smoke signature whatsoever above the tree line. It was too little of a fire for that, and twiggy fires don’t generate anywhere near as much smoke as a traditional campfire does.
Time to boil the pot of water
From the time I set my pot of water on top of the fire till the time it was a rolling boil was about 25 minutes on the dot. So, if you’re looking at cooking a meal using this method, I think you can reasonably estimate it’s going to be an hour from the time you start the process until you are able to actually eat.
Fuel needs
I really didn’t need a lot of fuel at all to keep this fire going. A single armful of small twigs and sticks was all it required, and I ended up with about a handful of sticks left over. The difficulty I had came with keeping the fire as large as I wanted. Feeding the sticks proved more difficult than I anticipated with the way I had everything set up, and it took a bit of tinkering to make sure I was keeping the fire happy.
Sudden gusts of wind continually breathed renewed life into everything helping, though.
This definitely impacted the length of time till boiling.
Ease of cooking
I know there has to be a better method for this than what I used. I squished the top of a hobo stove into the “exhaust” entrance for my pot of water to rest on. Apparently, the Marines use “sticks suspended in the side of the hole.”
I have two ideas I’m going to try out next time.
The first is this one, which I’m assuming is what the Marines do. Taking two 8” long sticks with a 2” diameter and placing them to bookend the fire so that a metal cup could rest on top of them. I’d have to dig out the base of this part of the tunnel deeper so the fire wouldn’t get choked out though.
The second option I’m going to try is to build a little shelf where I can set my pot of water. The fire won’t be choked out this way, but it would make for a longer boiling time.
So, what makes a good campfire cooking kit with a Dakota fire hole?
I think that I came to the conclusion that Mors Kochanski was right – you need a pot with a handle that allows it to hang. While survival is about using what you have to get what you want/need – and a hobo stove top worked for that – if I had been able to actually suspend my pot of water over my fire, I would have ended up with a stronger fire and less worry about the entire thing spilling out into the dirt.
I’m growing more and more of the persuasion that unless your backpacking pot set includes one of these types of pots, you’re really just banking on using a Coleman stove forever.
Final thoughts on Dakota before I-go-ta.*
The Dakota fire hole is definitely a valid form of cooking your own food, but like with emergency radio comms, fire starting, having a good campfire cooking kit, or just about everything else, it requires practice. If you wait until you’re stuck in the woods with a broken ankle in the apocalypse world, you’re going to end up very frustrated and hungry.
What are your thoughts on all this? Have you ever tried cooking with a Dakota fire hole? Do you have Dakota fire hole advice for campfire cooking? Is this something you practice on a regular basis? Let us know in the comment section.
*shoutout to Colette over at TheFrugalite.com
About Aden
Aden Tate is a regular contributor to TheOrganicPrepper.com and TheFrugalite.com. Aden runs a micro-farm where he raises dairy goats, a pig, honeybees, meat chickens, laying chickens, tomatoes, mushrooms, and greens. Aden has four published books, What School Should Have Taught You, The Faithful Prepper, An Arm and a Leg, The Prepper’s Guide to Post-Disaster Communications, and Zombie Choices. You can find his podcast The Last American on Preppers’ Broadcasting Network.